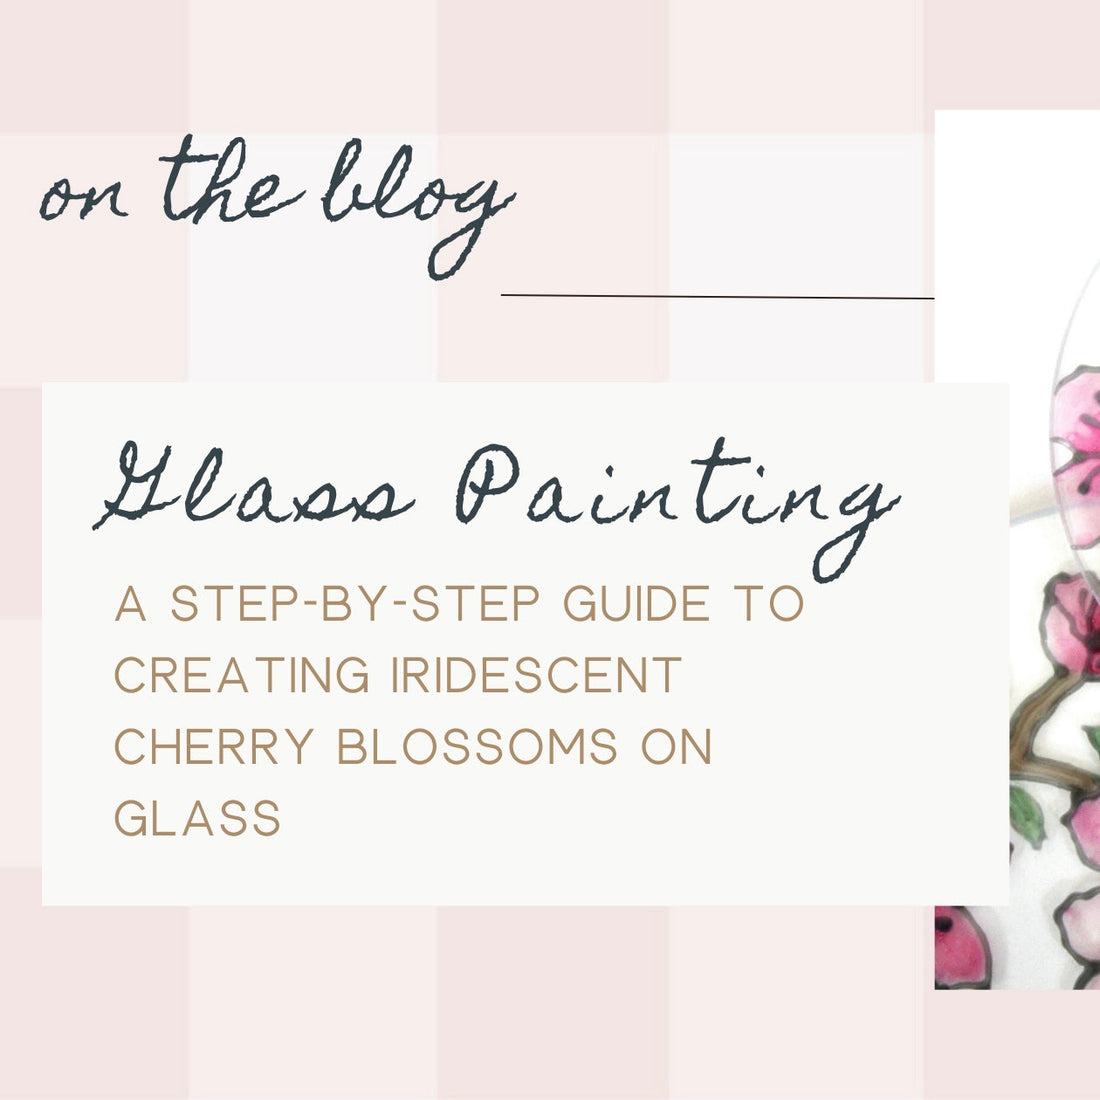
A Step-by-Step Guide to Painting Iridescent Cherry Blossoms on Glass
Share

If you’re looking to create stunning cherry blossom artwork on glass surfaces, you’ve come to the right place! In this guide, I will walk you through the process of painting beautiful, iridescent cherry blossoms, perfect for wine glasses, coffee mugs, or suncatchers. Let's get started!

Note on Affiliate Links: Please note that some of the links provided in this post are affiliate links, which means I may earn a commission if you make a purchase through them. Your supporthelps me continue to create and share art!
Watch the Tutorial:
For a more in-depth, step-by-step visual guide, check out my helpful YouTube video: Painting Cherry Blossoms on Glass here.

What You Will Learn:
- How to set up your workspace
- Cleaning your glass surface for optimal results
- Applying outliner relief
- Using various techniques and tools to apply glass paint
- Creating different finishes with iridescent medium
- Properly curing your artwork in an oven
Materials Needed:

1. Glass Surface: Choose any glass item you like. Consider wine glasses, mugs, or flat surfaces like picture frames for beginners. I’m using a pre-drilled ornament from Etchworld.
Purchase your glass surface here
2. Paints: For this project, I recommend using Pebeo Vitrea 160 glass paints and outliner. This brand is high quality, permanent, heat and UV resistant, and dishwasher safe. I’ve linked the exact colors needed from my Amazon storefront here
3. Basic Tools and Supplies:

- Paper towels
- Paper plate for mixing
- A cup of water for rinsing brushes
- Round soft-bristle paint brushes (size 1 or smaller recommended, ideally watercolor brushes). Purchase here
- Rubbing alcohol for cleaning
- Ribbon for hanging your completed glass painting.
4. Pattern Downloads:

- Cherry blossom pattern PDF: Download Here
- Outlining Practice PDF: Download Here
- Cherry Blossom Reference Photo: Download Here
5. Home Oven: For curing your completed work.
Step-by-Step Instructions:
1. Set Up Your Workspace
Choose a well-ventilated area and cover your work surface with paper towels, newspaper or a plastic tablecloth. Gather all your materials.

2. Clean Your Glass Surface
Thoroughly clean your glass piece with rubbing alcohol and paper towels to remove any oils or fingerprints. This ensures proper paint adhesion.

3. Apply Outliner Relief
Using the outliner, trace the cherry blossom pattern on your glass surface. This creates a raised outline that helps contain the paint and adds dimension to your artwork. Watch my YouTube Video for outlining tips!

4. Apply Glass Paint:
Once the outliner is dry, use your paintbrush to apply the glass paint to the branches and leaves. Experiment with different techniques—like pulling and dabbing the paint —to achieve unique effects.

5. Create Different Finishes:
To add an iridescent finish to the blossoms, mix your paint with iridescent mediums. This will give your blossoms a beautiful, shimmering quality in the light.

6. Cure Your Artwork:
Once the paint is completely dry, bake the artwork in a preheated, at home oven at 325°F (163°C) for 40 minutes. This ensures that your painted piece becomes permanent.

7. Final Touches:
Add a pretty ribbon to hang your glass artwork!


Watch the Tutorial:
For a more in-depth step by step visual guide, check out my helpful YouTube video: Painting Cherry Blossoms on Glass here.
By following these steps, you'll create stunning cherry blossoms on glass that will not only enhance your home decor but also make wonderful personalized gifts. Enjoy your artistic journey, and let your creativity bloom!
Let me know what you think, or have additional questions in the comments below 👇
